
Flooring Install
Flooring installation
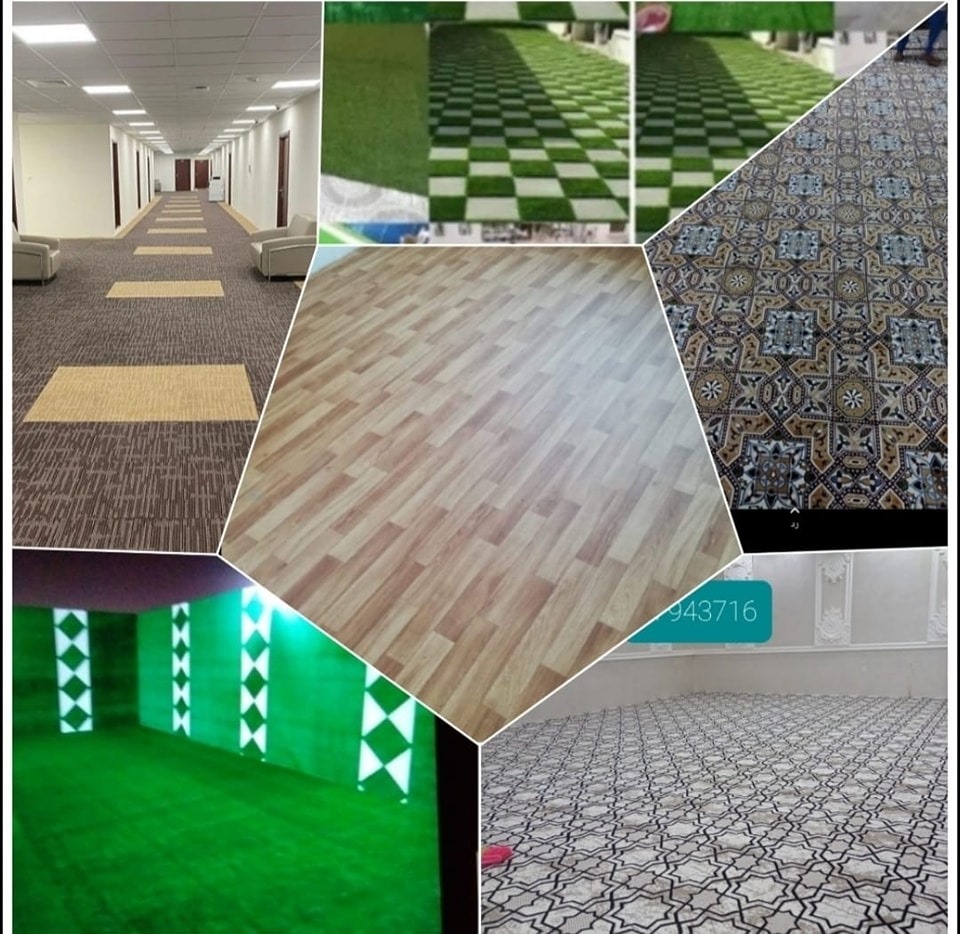
Flooring installation is a significant home improvement project that can transform the look and feel of your space. Proper installation is crucial for the longevity and aesthetics of your new flooring. Whether you’re installing hardwood, laminate, vinyl, or tile flooring, here are the key steps to follow:
1. Gather Materials and Tools: Before you begin, make sure you have all the necessary materials and tools, including the flooring material, underlayment (if required), adhesive, nails or screws, a saw, measuring tape, a chalk line, spacers, a trowel, and safety equipment (gloves, safety glasses, and a dust mask).
2. Prepare the Subfloor: The subfloor is the surface on which your new flooring will be installed. It should be clean, level, and free of any imperfections. Depending on the flooring type, you may need to install a plywood underlayment or remove old flooring materials. Ensure that the subfloor is structurally sound.
Safety Tip:
When cutting flooring materials, use safety equipment to protect yourself from dust and debris. Ensure good ventilation in the room, especially when working with adhesives or finishing products.
In conclusion, flooring installation is a rewarding DIY project that can significantly enhance the look and feel of your space. However, it can be a complex task, and if you’re not confident in your skills, it’s advisable to hire a professional installer to ensure a flawless finish. Proper installation is essential for the durability and functionality of your flooring, so take your time and follow the manufacturer’s recommendations and best practices for your specific flooring type.